Aladamus Local Micro-Detail Clarity Improver v1.0
First, we recommend that you read the Instructions on the correct algorithm for using AI Upscaler & Enhancer on Aladamus.
Aladamus Local Micro-Detail Clarity Improver v1.0 Price: 50 Credits per 10% of the total area of the uploaded image. The minimum cost to start generation is 100 Credits (50 Credits for 10% + 50 Credits deposit in case there is a need to automatically increase resolution using the Aladamus AI Upscaler [Global Micro-Detail Clarity Improver] v1.0 model). Read more. — this is a tool for local enhancement and refinement of elements or objects using a mask on the image, designed to improve the sharpness of the micro-architecture of details in the image. The key feature of this tool is its commitment to maintaining similarity to the original image while improving it. When working on enhancing a selected area of the image, Aladamus Local Micro-Detail Clarity Improver v1.0 strives to preserve similarity to the original geometric shapes of objects, materials, lighting, etc.
Aladamus Local Micro-Detail Clarity Improver v1.0 generates 2 to 6 different variations, from which you can choose the best one yourself.
The Aladamus Local Micro-Detail Clarity Improver v1.0 tool can enhance all types of objects in the image.
It is important to understand that if the Aladamus Local Micro-Detail Clarity Improver v1.0 tool considers the resolution of your uploaded image to be low or insufficient based on detail quality criteria, it will automatically upscale it to 4096px (on the longer side) by processing it through the Aladamus AI Upscaler [Global Micro-Detail Clarity Improver Resolution 4096px] v1.0 model, and only then proceed with the task.
If the Aladamus Local Micro-Detail Clarity Improver v1.0 tool considers the resolution and detail of your uploaded image to be sufficient, processing through the Aladamus AI Upscaler [Global Micro-Detail Clarity Improver Resolution 4096px] v1.0 model will not occur, and the reserved 50 Credits will be returned to your balance after generation is complete.
Tip. When working with any tools from the "Tools that work with a local area of the image" section, use images that have already been processed by any tool from the "Tools that work with the entire area of the image" section (if available) as your uploaded images. In this case, 50 Credits will be returned to your balance with each generation, as the model will not need to process the uploaded image through the Aladamus AI Upscaler [Global Micro-Detail Clarity Improver Resolution 4096px] v1.0.
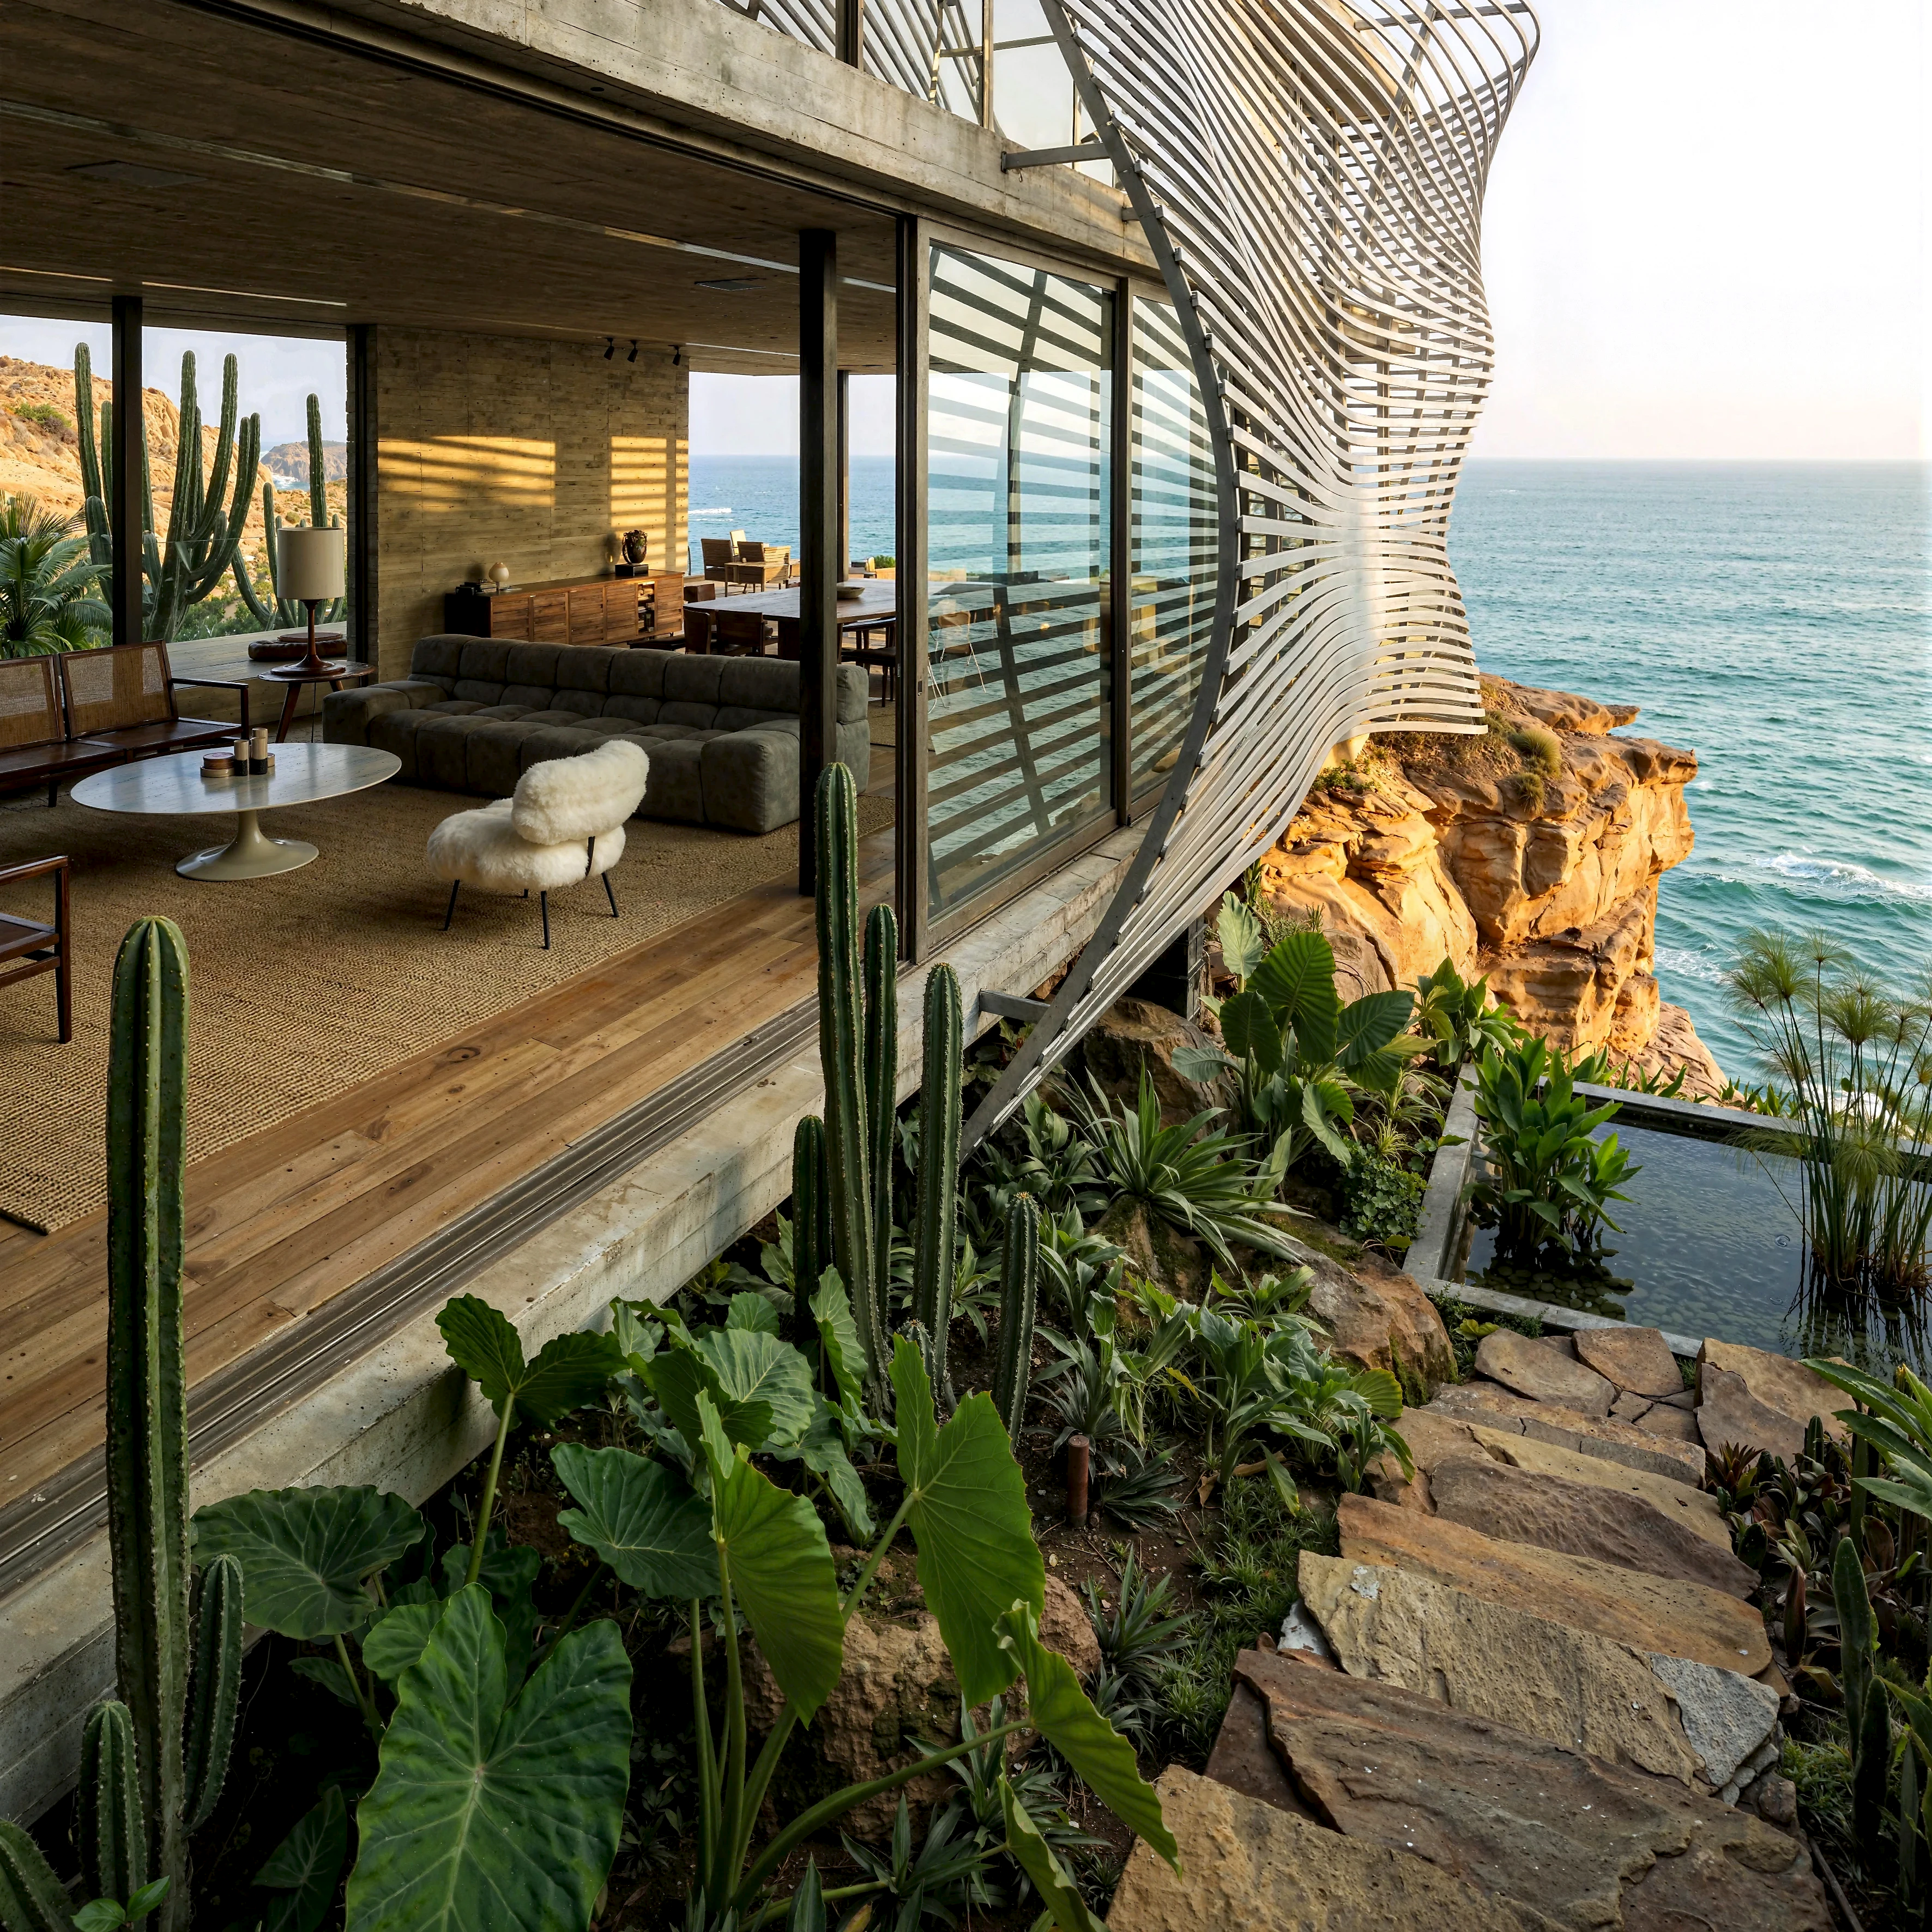
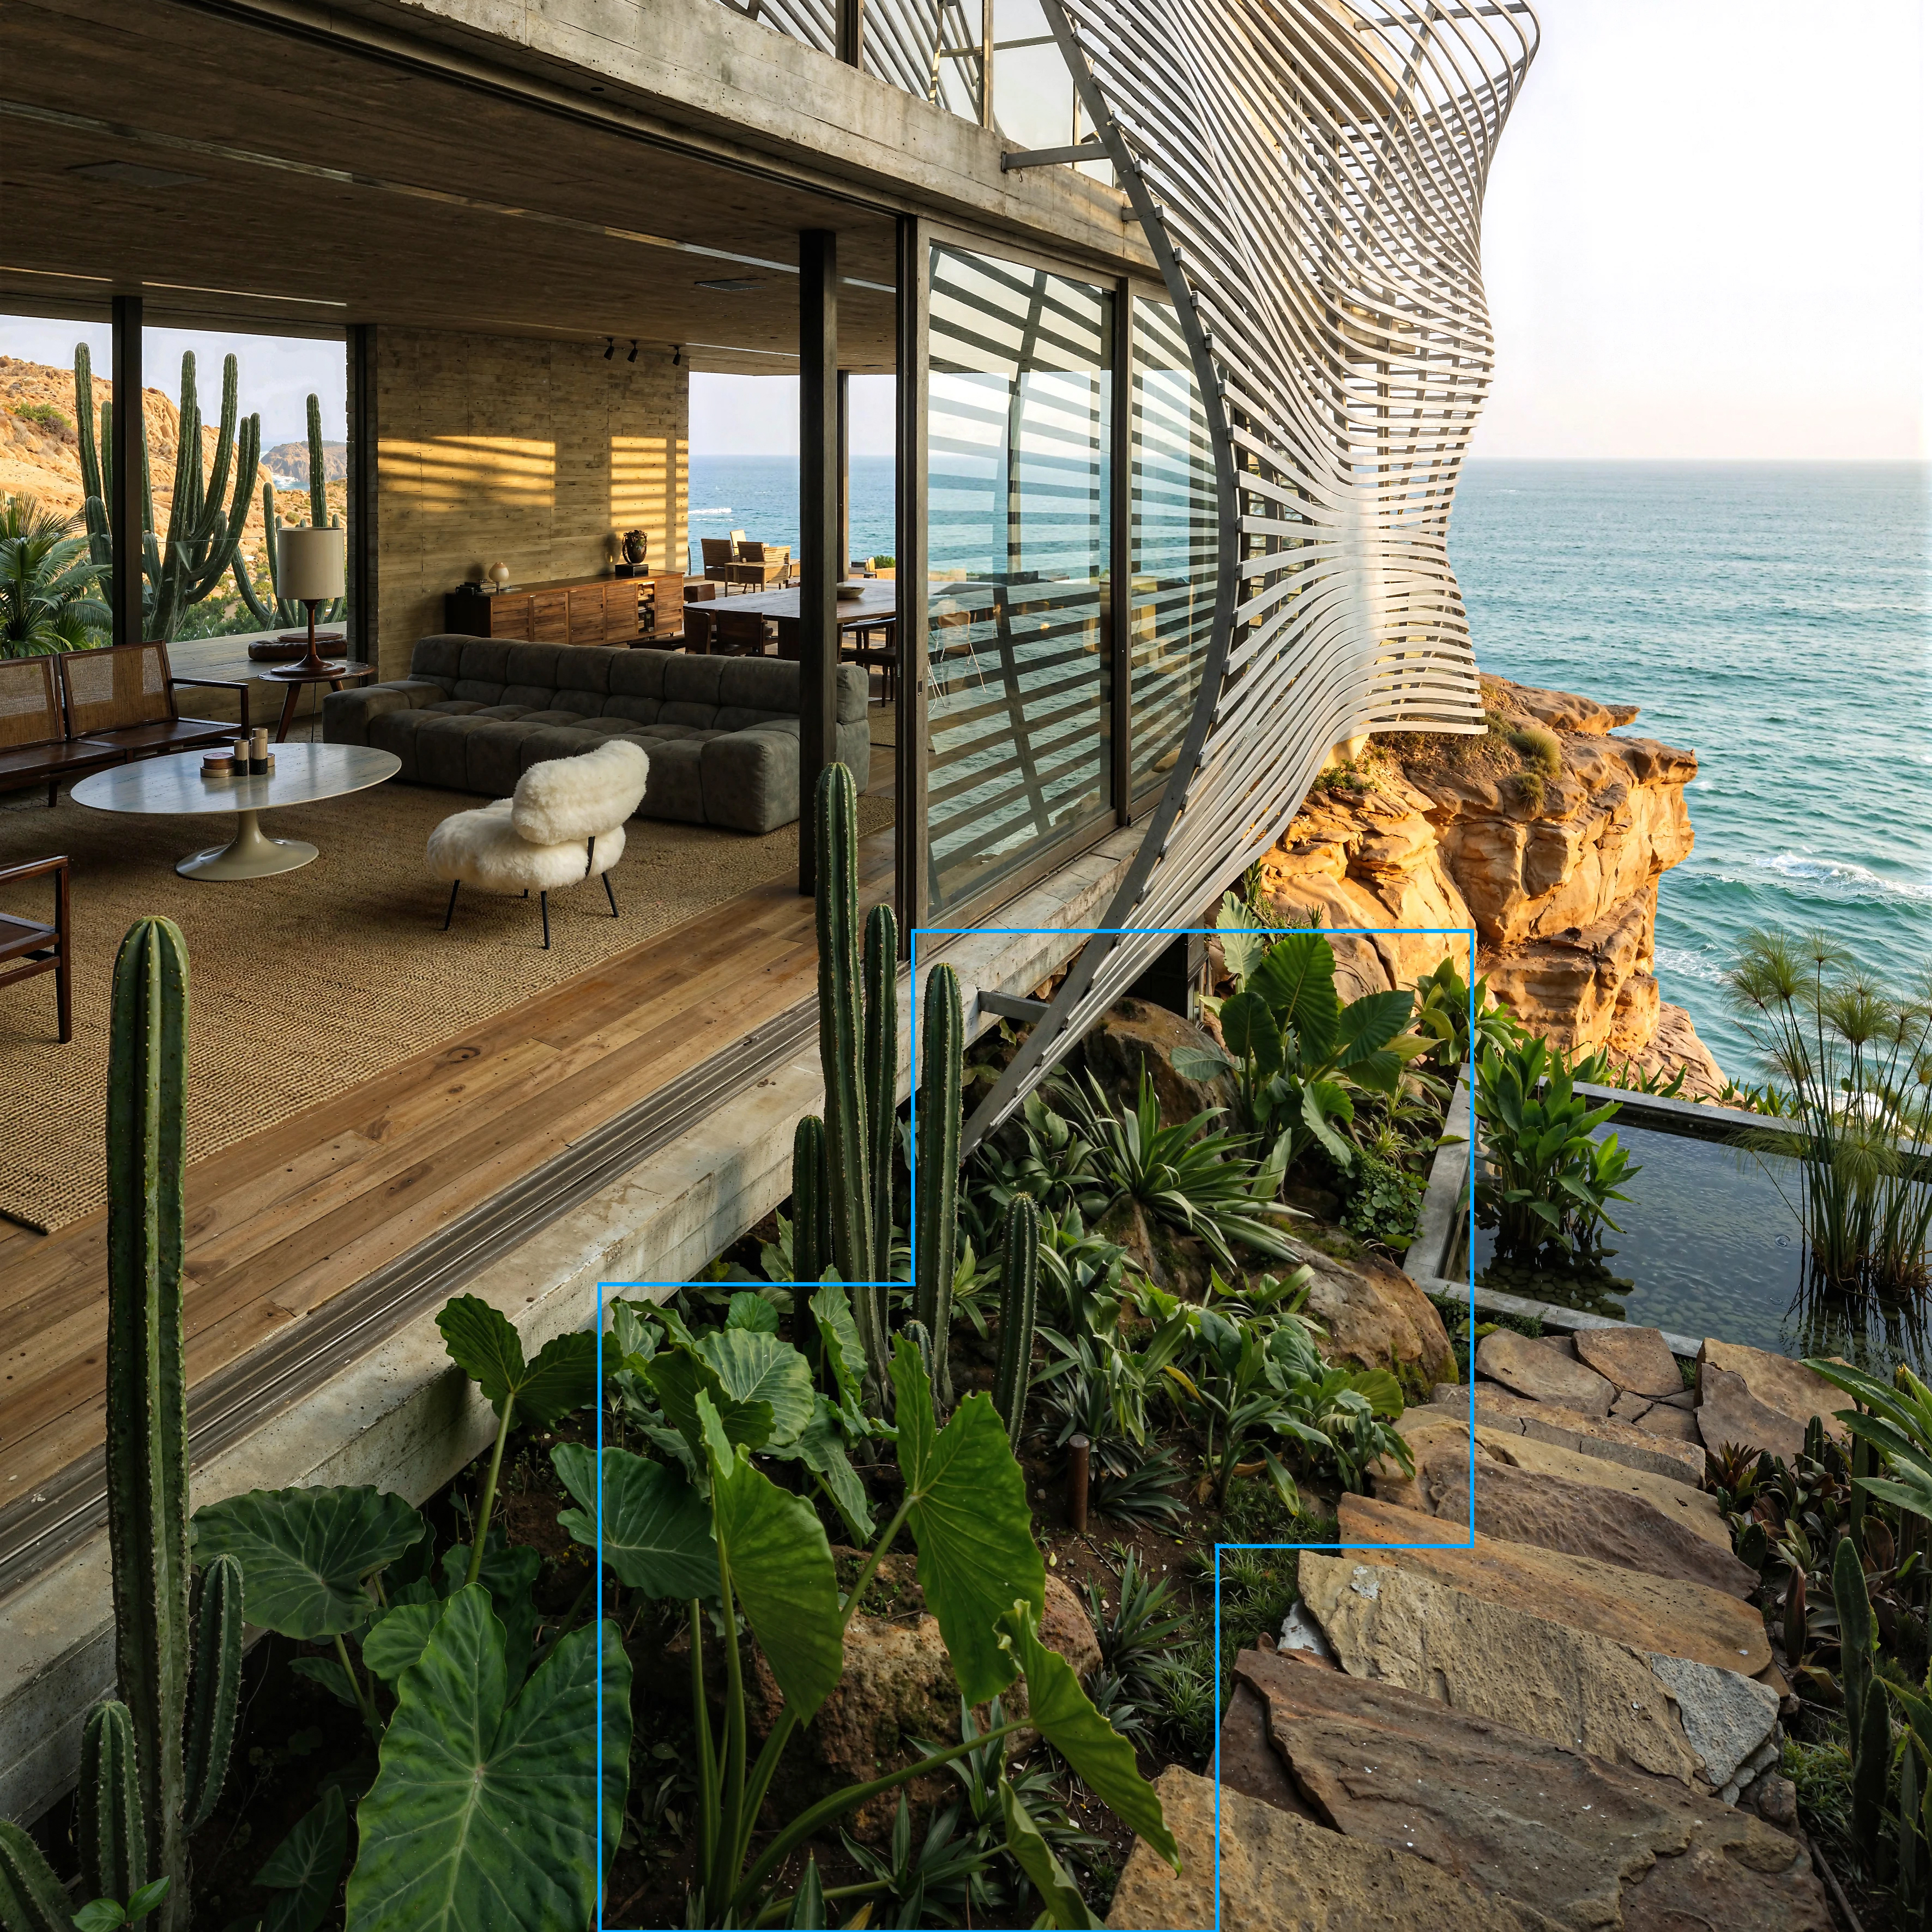
It is important to understand that Aladamus Local Micro-Detail Clarity Improver v1.0 is primarily designed for cases where a moderate, subtle generative image enhancement is required. This tool is not recommended when you need to significantly transform elements in the image, substantially alter their appearance, or make major corrections to objects.
Example of incorrect usage: if the image contains non-photorealistic objects, you should not expect that the creative power of the Aladamus Local Micro-Detail Clarity Improver v1.0 tool will be sufficient to deeply transform them into a photorealistic appearance. For such tasks, the following local refinement tools are recommended: Aladamus Enhancer CGB Mir [Creative Medium + Saving geometry] v1.0 and Aladamus Enhancer CGB Mir [Creative Medium + Saving geometry] v1.0.
Thus, Aladamus Local Micro-Detail Clarity Improver v1.0 is the optimal choice for users who need to qualitatively refine a local area of the image without deep creative transformation.
Step-by-step instructions for configuring the tool
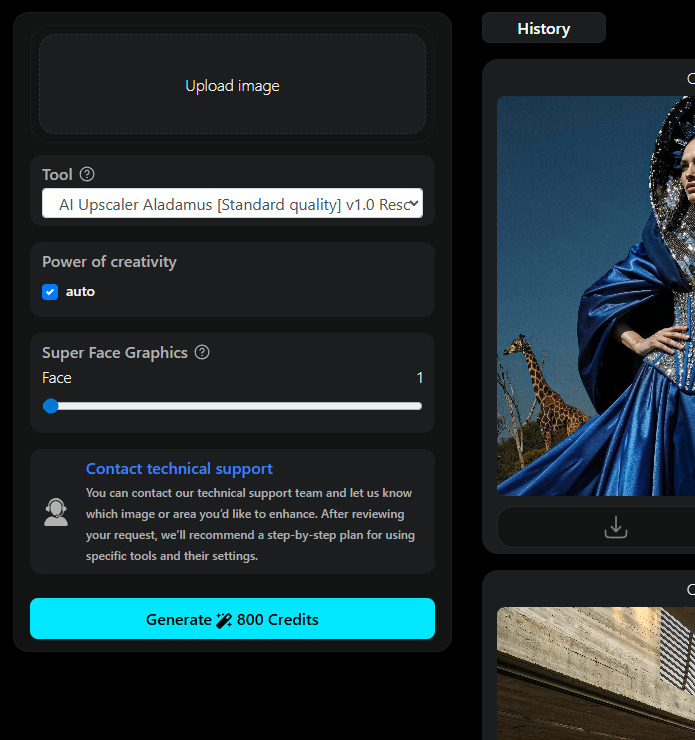
1. AI Upscaler & Enhancer
Go to the AI Upscaler & Enhancer section
2. Upload Image
Upload the image you want to enhance.
Note: JPEG, WEBP, PNG formats are supported. Maximum image resolution is up to 10000px
3. Tools
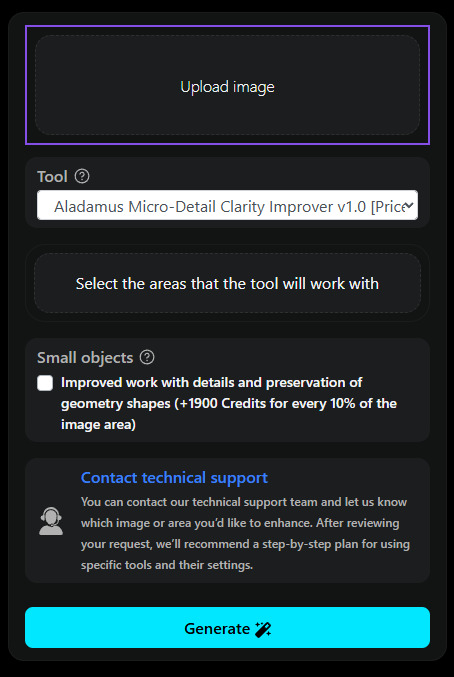
Select the tool Aladamus Enhancer CGB Mir [Creative Medium + Saving geometry] v1.0 [Price: 500 Credits for 10% of the image area].
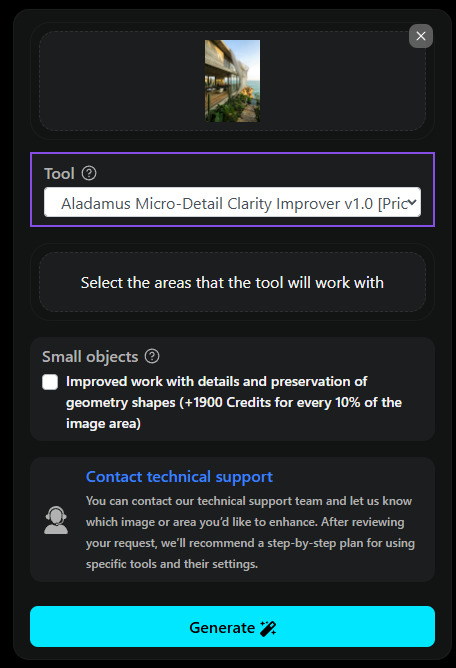
4. Select the areas that the tool will work with
Specify the local area to which the tool will be applied. Click the Select the areas that the tool will work with button.
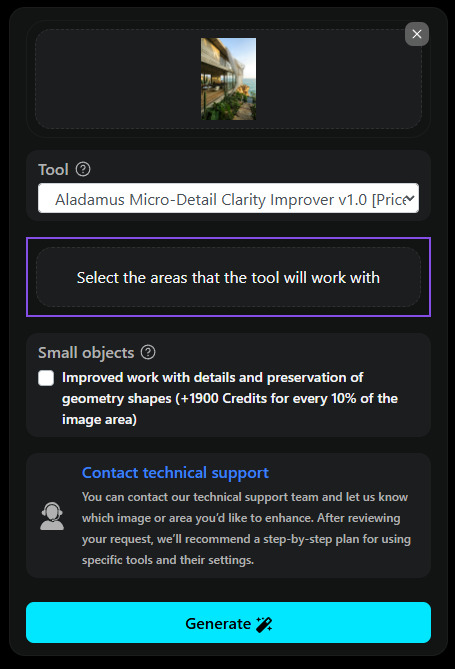
Clicking the Select the areas that the tool will work with button opens a window for selecting objects or areas of the image that you want to enhance.
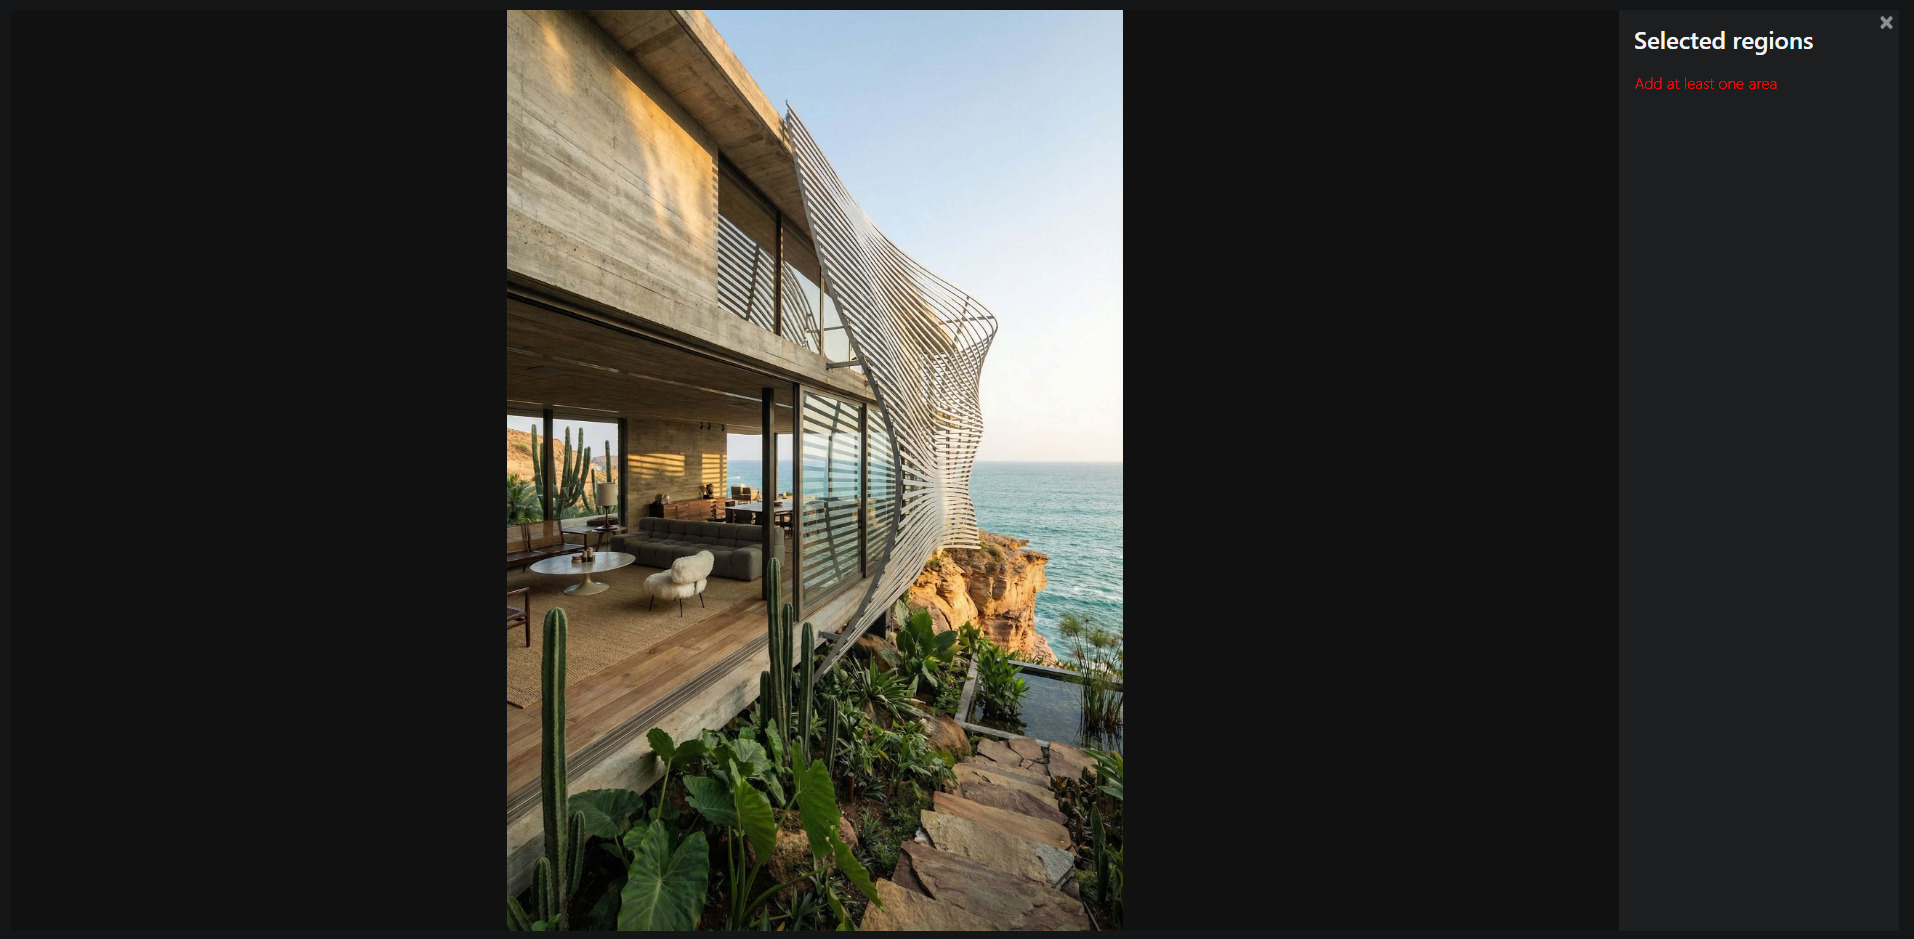
Working with areas:
- Hold down the left mouse button and outline the area (preferably along the contour and silhouette of the shapes). You can create multiple areas. Each will be highlighted in its own color.
- Each area can be deleted by clicking on the cross icon, or you can delete all areas at once using Delete all regions
- The generation cost is calculated automatically based on the following principle: the total area
of the bounding boxes of all selected areas is summed up.
In addition to the total area, 20 Credits are added to the total cost of the generation for each
additional selection (any selection after the first one is considered an additional selection).
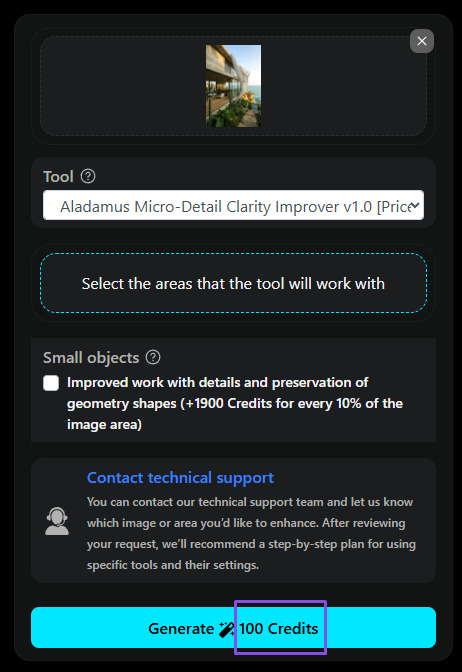
The minimum cost to start a generation is 100 Credits. Even if the total area of your selections
and the sum of additional selections do not reach this threshold,
the minimum start cost will not be lower than 100 Credits under any circumstances (you can see
the cost in the example
below, outlined with a purple frame).
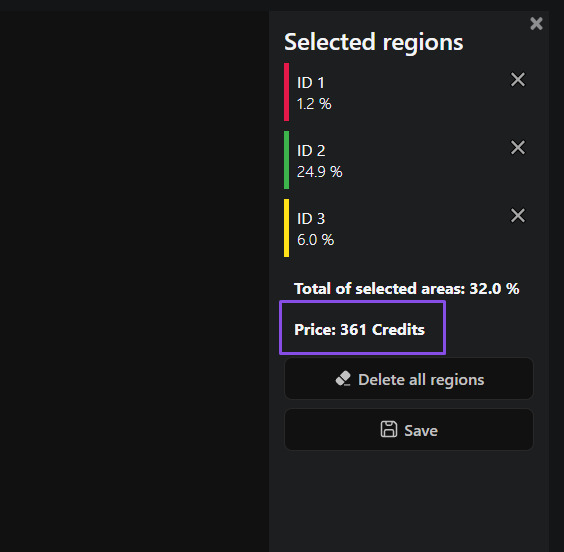
The price is also displayed on the "Generation" button.
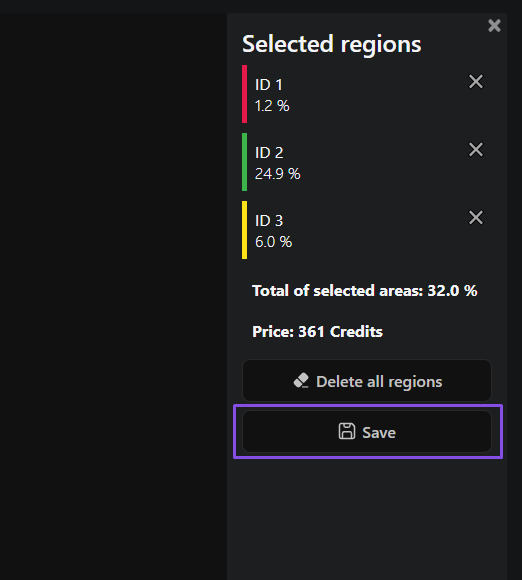
- Save — save the result (if you close the window by clicking the cross icon in
the upper
right corner, your selected areas will not be saved).
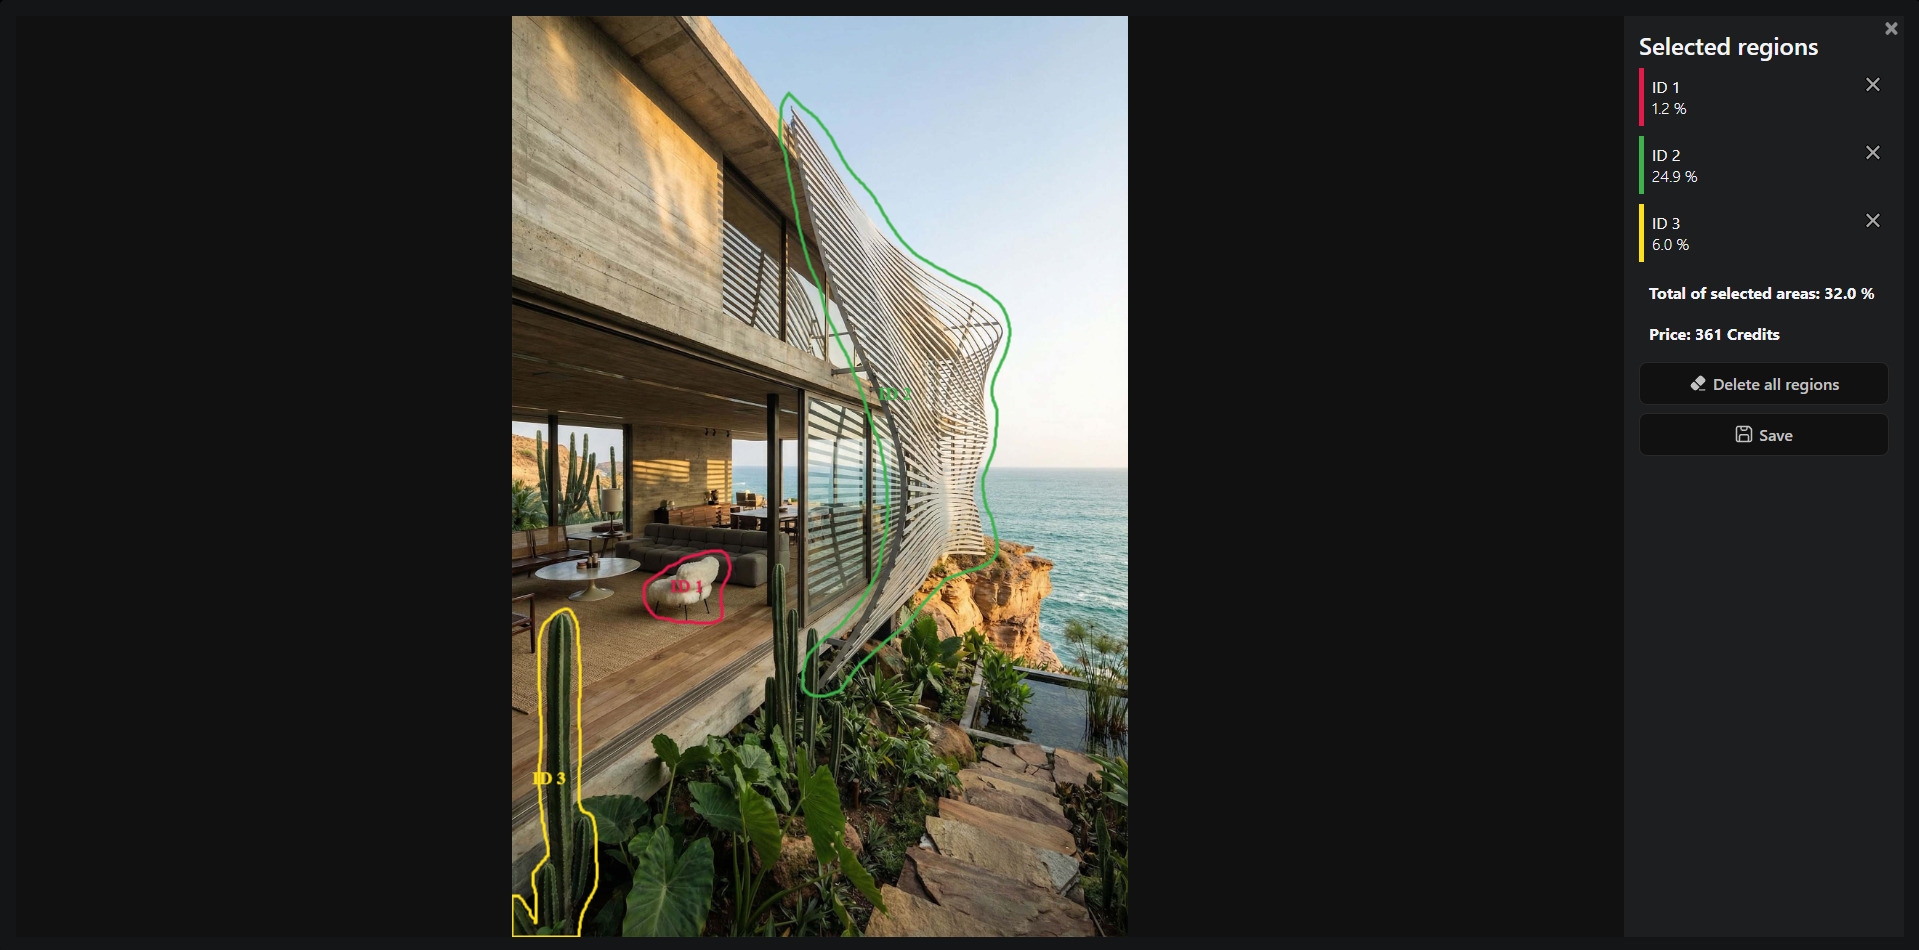
Here is an example of a correct selection, both from the perspective of graphics enhancement and cost efficiency. The total selection area here is 32%. We recommend selecting objects or elements in their entirety:
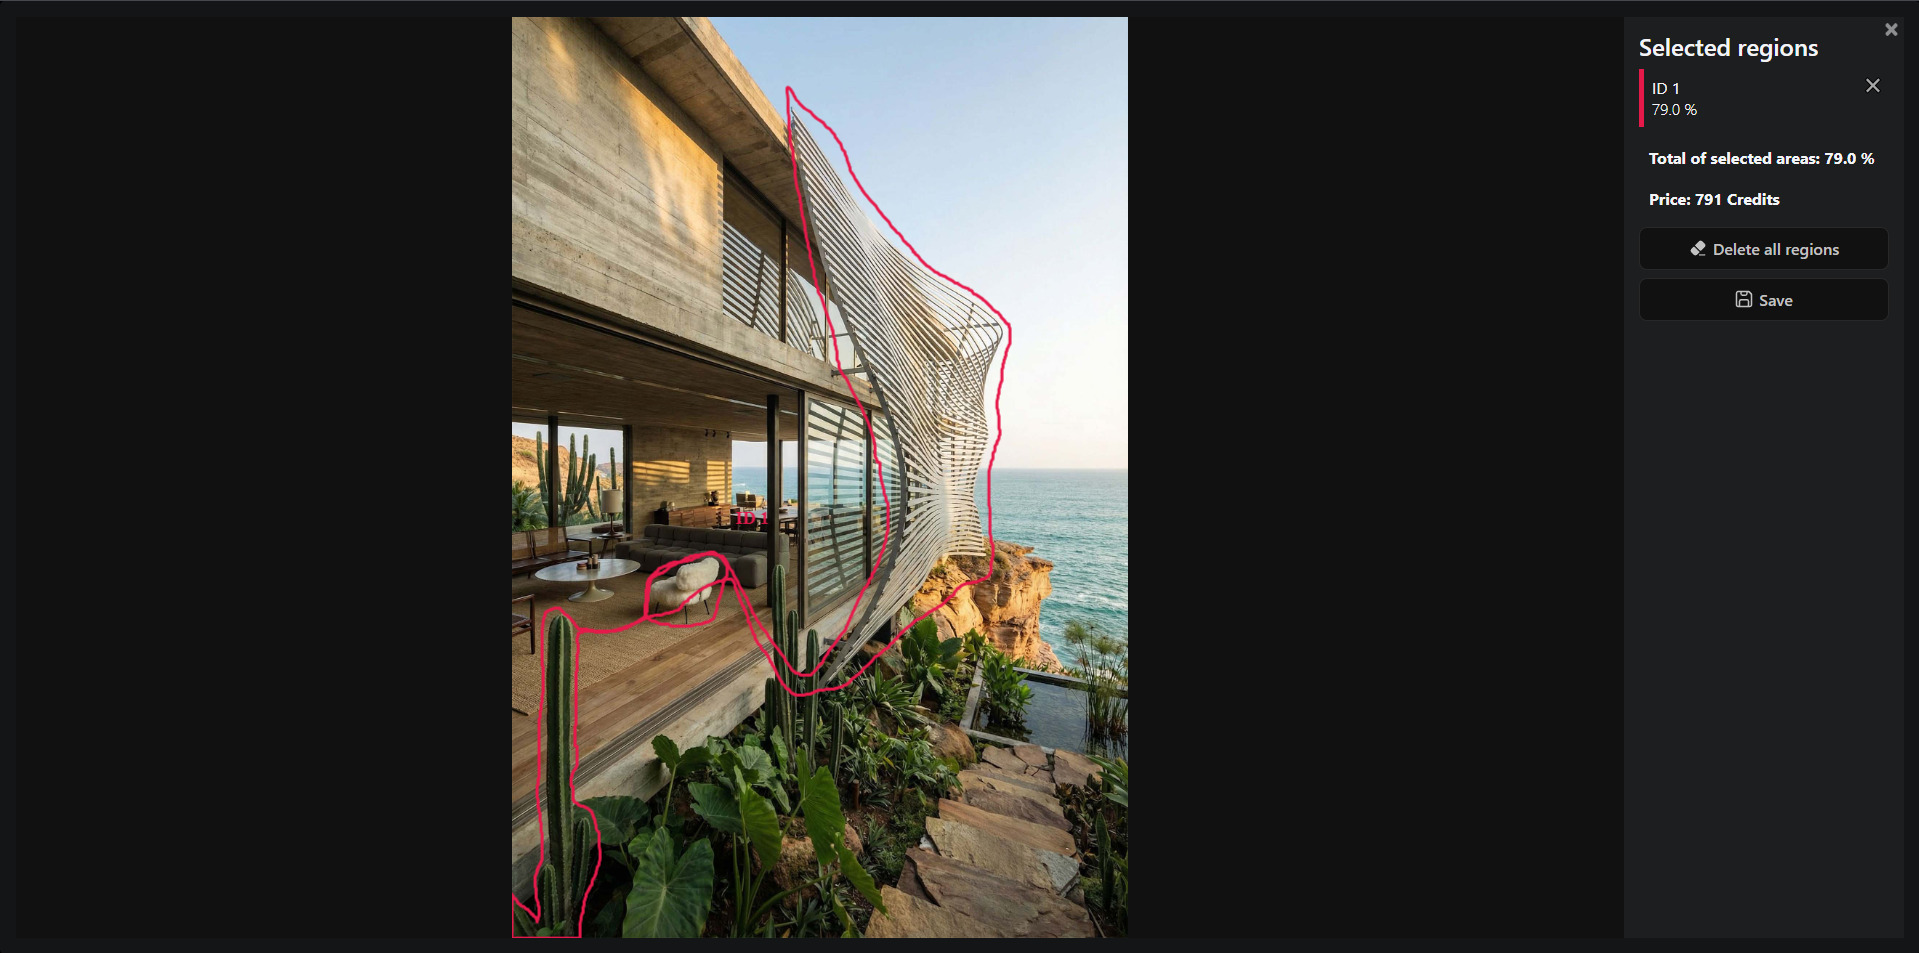
Here is an example of an inefficient area selection from a cost perspective. As we can see in the screenshot, the total selection area is 79%, compared to 32% in the correct example above, making the latter much more cost-effective. The automatic generation cost calculator computes the price based on the entire area of the selection's bounding box.
After saving the selected areas, the Select the areas that the tool will work with button changes its appearance:
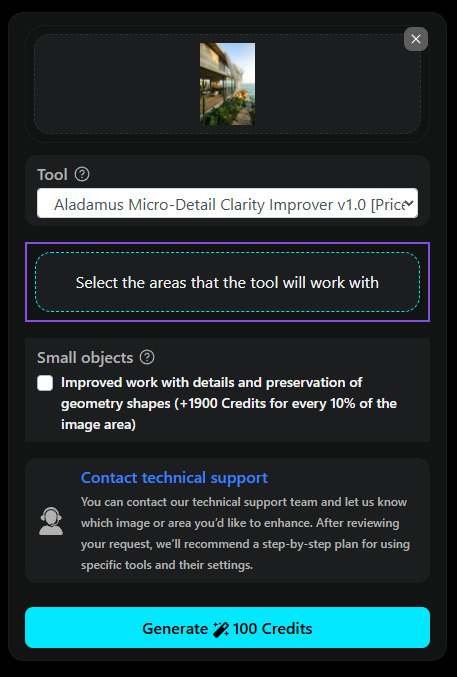
Once you have saved the selected areas, you can open them again to review or edit them (if you close the window without clicking Save, your changes will not be saved).
When switching to another tool (for example, when transitioning from Aladamus Enhancer CGB Mir [Creative Medium + Saving geometry] v1.0 to Aladamus Enhancer CGB Mir [Creative Strong] v1.0 or Aladamus Local Micro-Detail Clarity Improver v1.0), all previously selected and saved areas will be used for the newly selected tool.
5. Improved work with details and preservation of geometry shapes
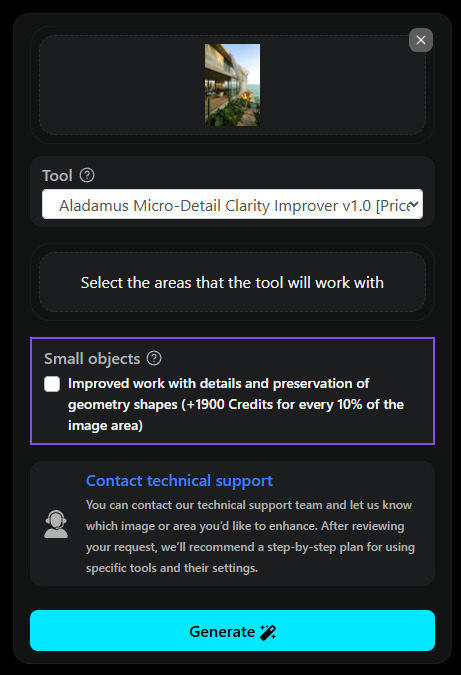
If there are small objects within the selected area of the image to be enhanced (for example, on the facade of a residential complex or other elements like people, cars, trees, and other small-scale objects) and the goal is to improve them while preserving maximum similarity to the original image (geometric shapes, color, materials), then you must apply "Improved work with details and preservation of geometry shapes" to them.
In such cases, using the "Improved work with details and preservation of geometry shapes" setting is mandatory. Without its activation, the generation may be canceled, specifying the corresponding reason. In this event, you will need to recreate the generation task with this setting enabled.
The cost of the "Improved work with details and preservation of geometry shapes" option is an additional 500 to 1900 Credits per 10% of the image. Since the final cost when using this option is determined only after the generation is complete, a deposit of 1900 Credits per 10% of the image is reserved prior to launch in addition to the cost of the selected model. If the actual processing cost turns out to be lower, the difference is automatically returned to the user's balance.
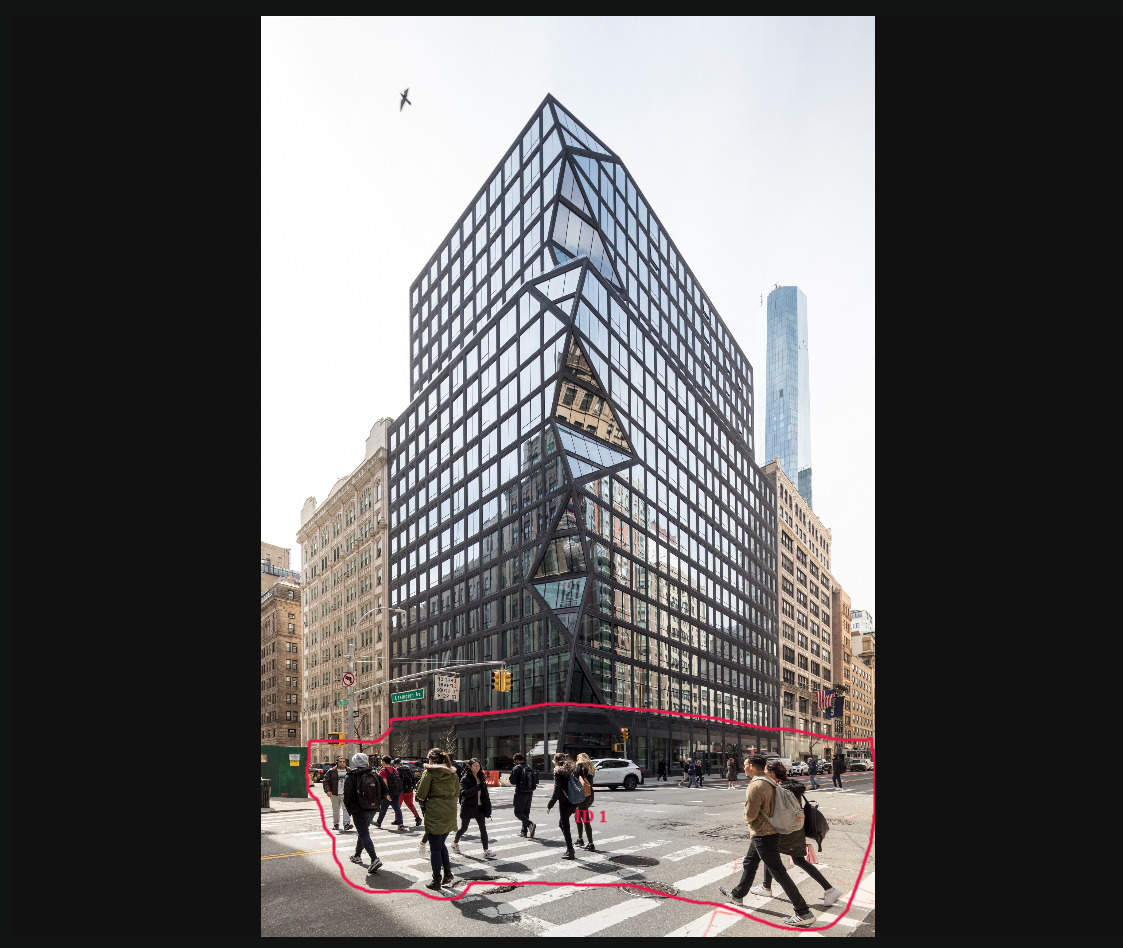
Here is an example of an image with small objects where this option needs to be enabled:
6. Generation
After completing the settings, start the process by clicking the "Generation" button. The final result will appear in your History section.